
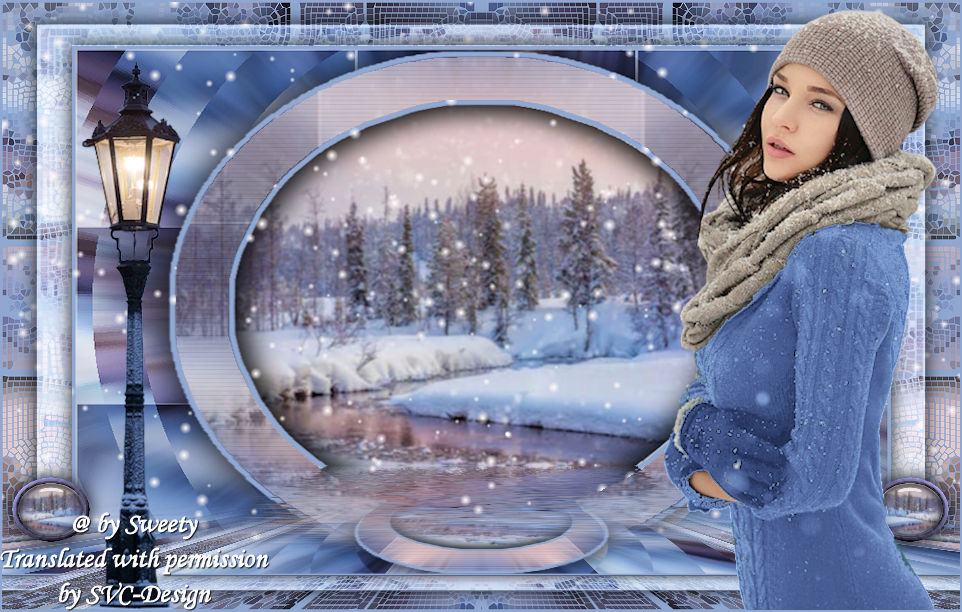
This lesson is made with PSPX9
But is good with other versions.
© by SvC-Design

Materialen Download :
Here
******************************************************************
Materials:
PALETTE COULEURS V 1 189 png.png
SELECTION 1 189 .PspSelection
SELECTION 1 BIS 189 .PspSelection
SELECTION 2 189 .PspSelection
SELECTION 3 189 .PspSelection
SELECTION 4 189 .PspSelection
SELECTION 5 189 .PspSelection
SELECTION 6 189 .PspSelection
SELECTION 7 189 .PspSelection
OCTOBRE 2022 PATRICIA 2 13 10 22 SWEETY.png
Paysage Hiver du soir 64c42b03 jpg.jpg
SEPTEMBRE 2022 REVERBERE 08 08 10 22 SWEETY.png
******************************************************************
Plugin:
Plugin - Unlimited 2.0 - VM Distortion - Slicer
Plugin - Kiwi’s Oelfilter – Setzboard
plugin - Carolaine And Sensibily - CS Halloween 2
Plugin - Alien Skin Xenofex 2 – Flag - Classic Mosaic
Plug-in - MuRa's Filter Meister - Perspective tiling
Pluging - Flaming Pear - Flood
******************************************************************
color palette
:

******************************************************************
methode
When using other tubes and colors, the mixing mode and / or layer coverage may differ
******************************************************************
General Preparations:
First install your filters for your PSP!
Masks: Save to your mask folder in PSP, unless noted otherwise
Texture & Pattern: Save to your Texture Folder in PSP
Selections: Save to your folder Selections in PSP
Open your tubes in PSP
******************************************************************
We will start - Have fun!
Remember to save your work on a regular basis
******************************************************************
1.
Choose an image that you like. Take two colors:
Dark Front (AVP) / Light Background (ARP)
Open a transparent 950/600 layer.
Selection - select all
Open Paysage Hiver du soir 64c42b03 jpg.jpg
Edit – Copy
Edit - Paste into selection
Selection - Select None
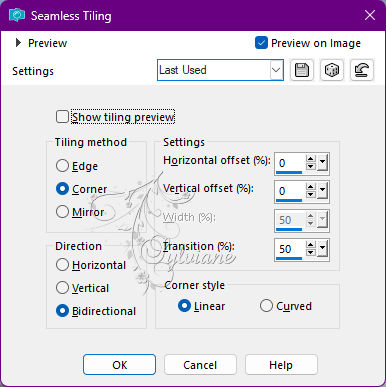
Effects - Image Effects - Seamless Tiling -default:
2.
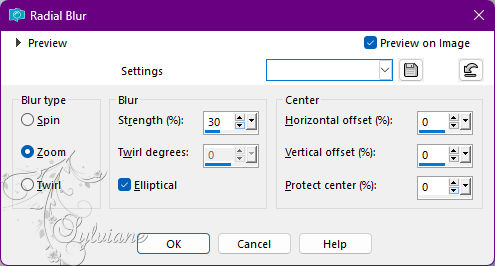
Adjust - blur - radial blur
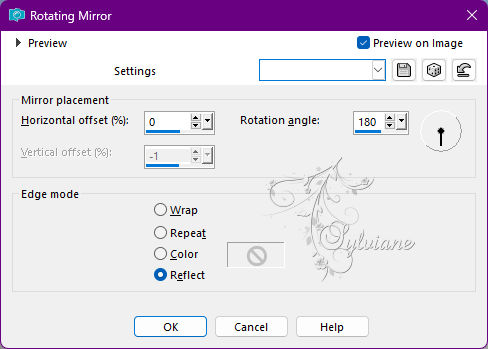
Effects – reflection effects – rotating mirror
Selection - Custom selection
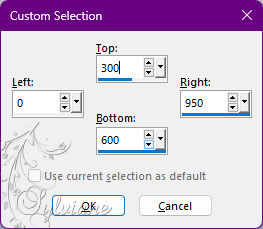
Edit==>erase or delete on the keyboard.
Selection - Select None
Layers - Duplicate
Image - Mirror - Vertical Mirror
Layers – merge – merge down
3.
Plugin - Unlimited 2.0 - VM Distortion Slicer - configured as follows:
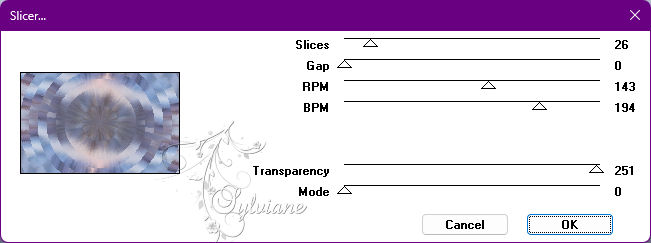
Adjust – scharpness – scharpen
Selections - Load / Save - Load selection from disk - SELECTION 1 189 .PspSelection
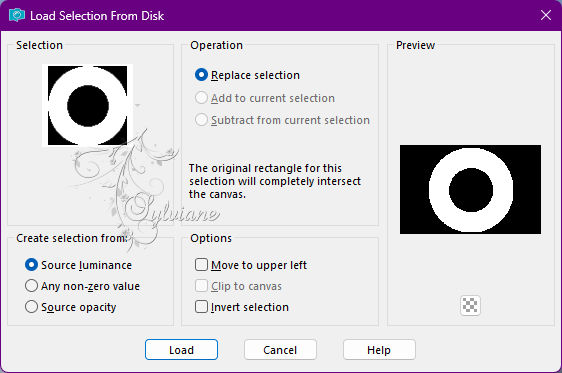
Selections – Promote selections to layer
Selection - Select None
Using the magic wand - tolerance 0 click inside the circle:
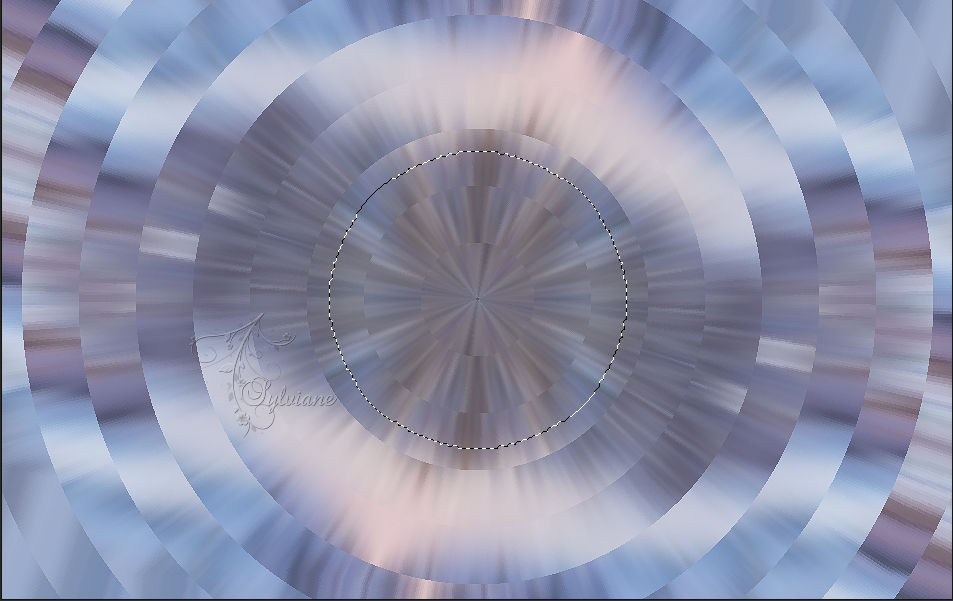
Edit – modify – expand – 76px
Edit- erase.
Layers - New Raster Layer
Layers – arrange – move down
Open Paysage Hiver du soir 64c42b03 jpg.jpg
Edit – Copy
Edit - Paste into selection
Selections - Invert
Effects - 3 D effects - Drop shadow:
0 / 0 / 100 / 50 - Black or AVP
Selection - Select None
4.
At the moment we get this:
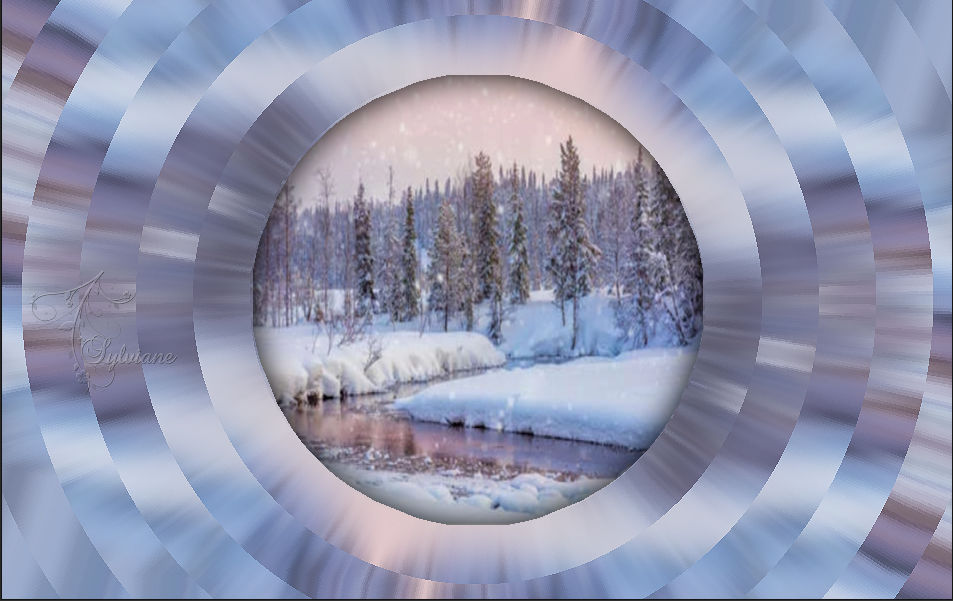
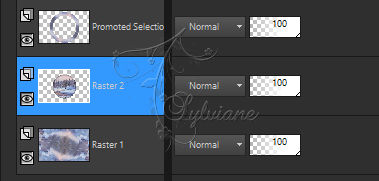
Activate Promoted Selection
Adjust – scharpness – scharpen
Layers - Duplicate
Plugin - Kiwi’s Oelfilter – Setzboard - configured as follows:
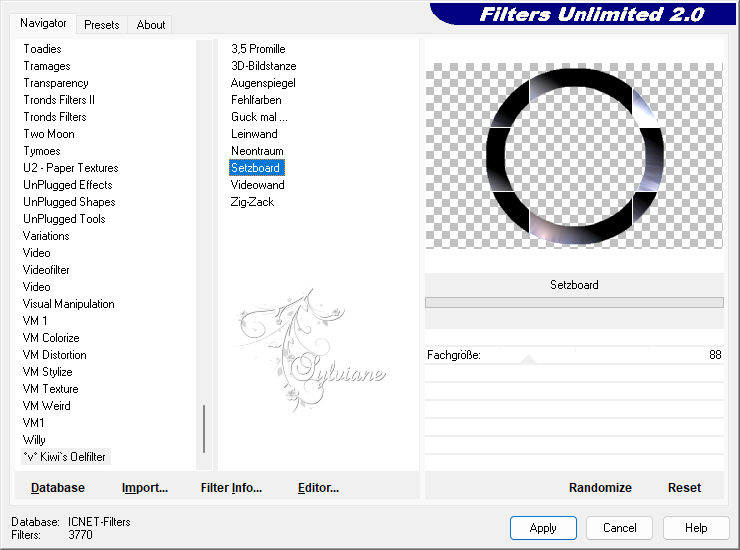
Mode of the layer *Soft Light* or other of your choice.
Opacity at +/- 70%
Layers – merge – merge down
OPTIONAL ACCORDING TO YOUR TASTES:
Effects – reflection effects – rotating mirror - Same settings as before
5
Still on this layer
Selections - Load / Save - Load selection from disk - SELECTION 1 BIS 189 .PspSelection

Fill with ARP color
Selection - Select None
Effects - 3 D effects - Drop shadow:
0 / 0 / 100 / 50 / Black or AVP
Layers – merge – merge down
Resize to 105% bottom box unchecked
6.
Here's what we have on *Raster 2*:
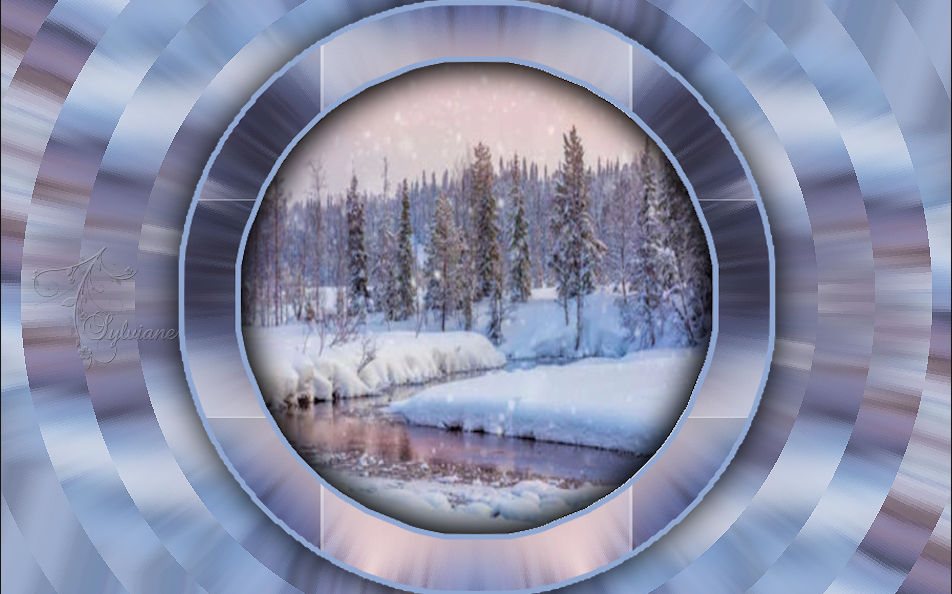

Move to the bottom layer (Raster 1).
Layers - Duplicate
REDO:
Plugin - Kiwi’s Oelfilter – Setzboard - Same as before
Layer mode * Soft light * or other of your choice –
Layers – merge – merge down
7.
Activate Raster 2
Selector tool enabled (K on the keyboard).
Stretch slightly to the left and right:
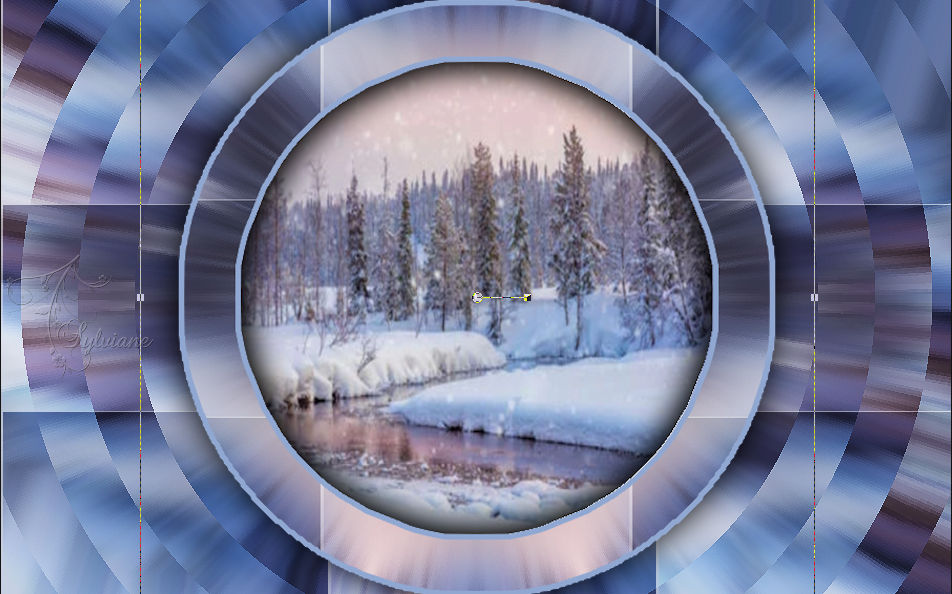
after
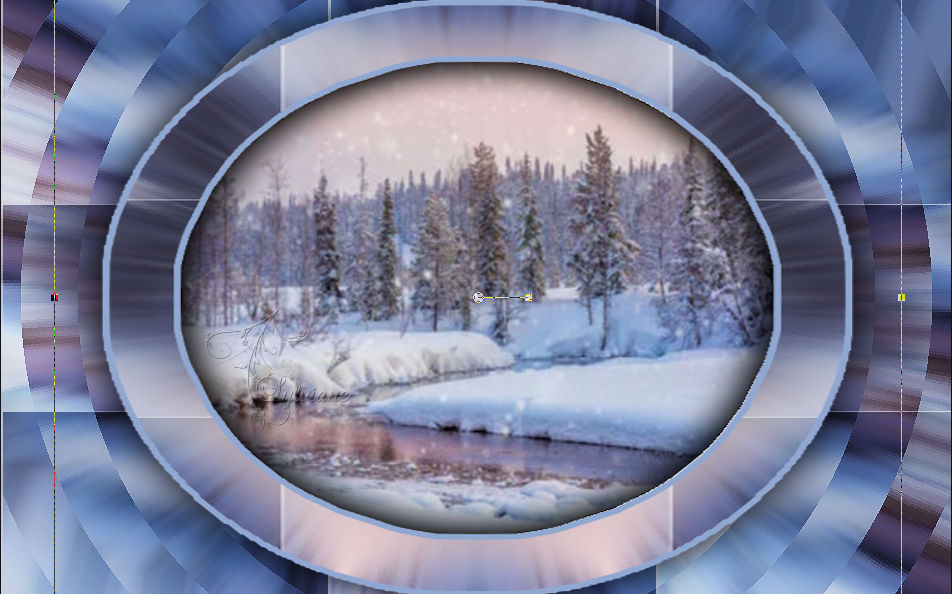
Disable the selector tool (M on the keyboard)
Selections - Load / Save - Load selection from disk - SELECTION 2 189 .PspSelection
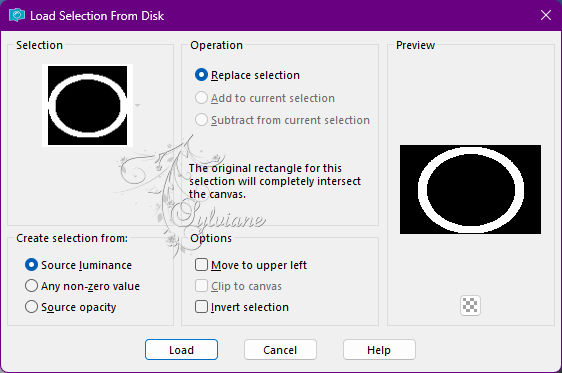
Selections – Promote selections to layer
Filter - Carolaine And Sensibily - CS Halloween 2
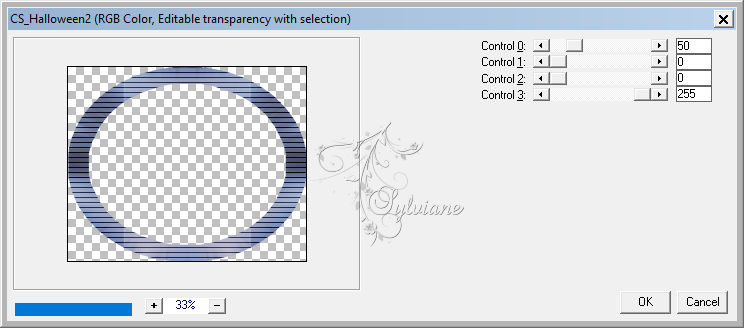
Effects – reflection effects – rotating mirror - idem step 2 (Always in memory)

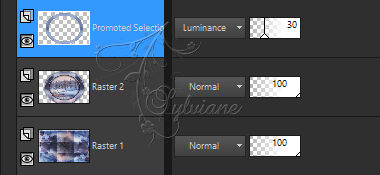
Layer mode * Luminance (H) * or other of your choice –
NOTE: For my 1st version, I lowered the opacity of this layer to 30% -
It's up to you to see what pleases best and I put on * Screen
Selections - Invert
Effects - 3 D effects - Drop shadow
0 / 0 / 100 / 100 - Black or AVP
Selection - Select None
8.
You should have this:

Effects - 3 D effects - Drop shadow
0 / 0 / 5 0 / 5 0 / ARP or AVP color
Adjust – scharpness – scharpen
Image – Add Borders –symmetric – 4 px - ARP color
Edit - copy. (Image is remembered)
Effects - Image Effects - Seamless Tiling - Idem step 1 (Still in memory)

Edit - paste as new layer (Image is in memory)
Image - resize to 90% bottom box unchecked
Layers – Duplicate
9.
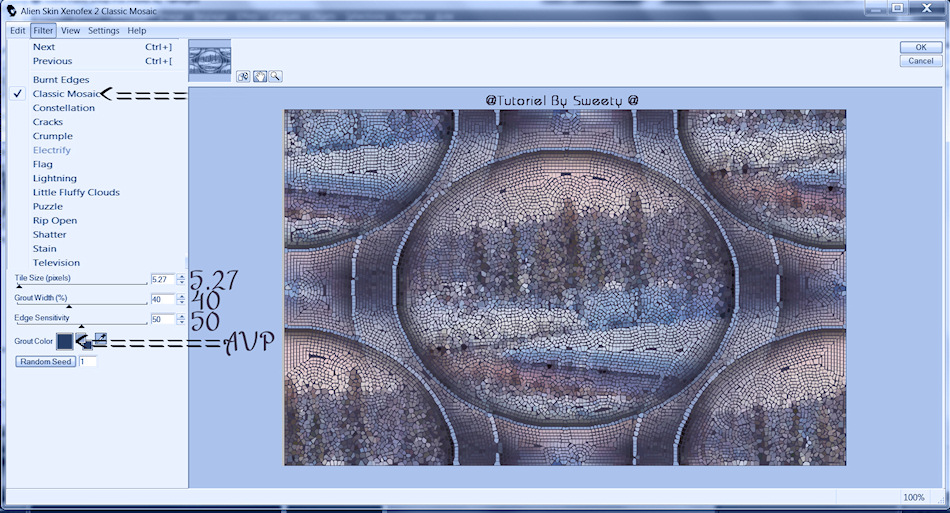
Plugin - Alien Skin Xenofex 2 – Flag - Classic Mosaic
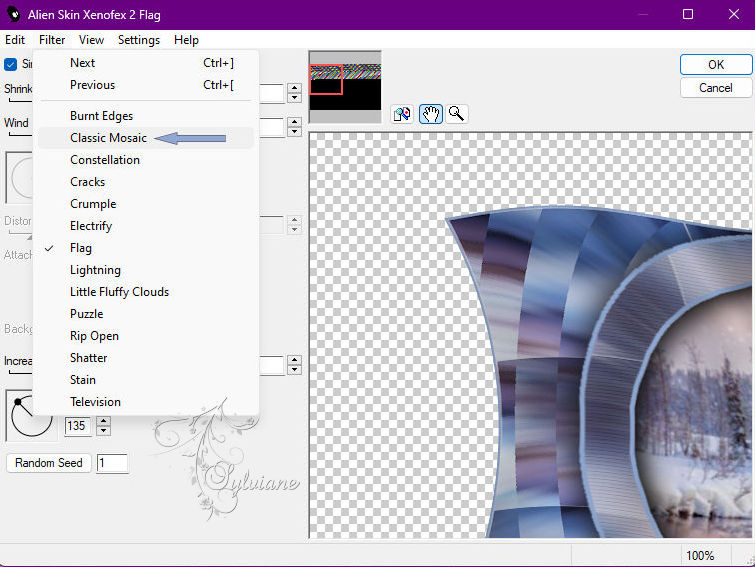
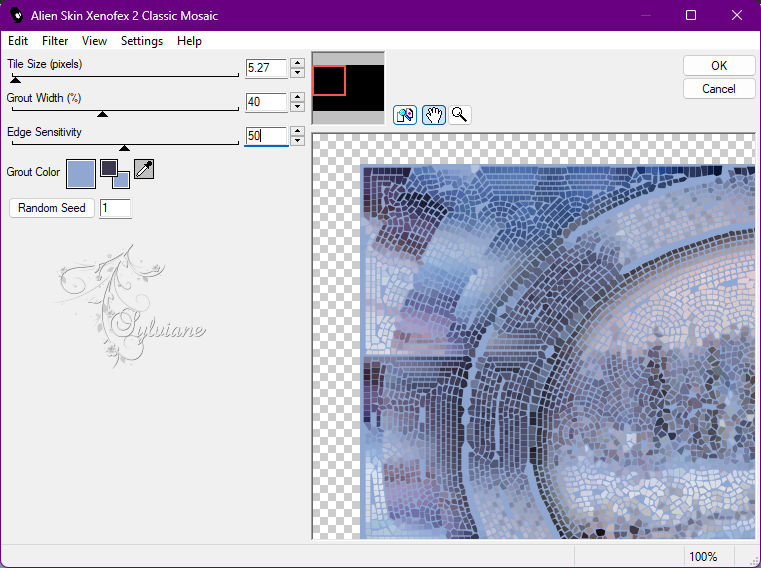
Selections - Load / Save - Load selection from disk - SELECTION 3 189 .PspSelection
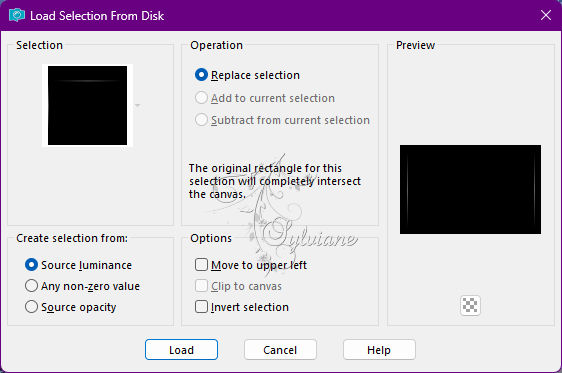
Fill the selection with the ARP color.
Selection - Select None
Resize to 103 % bottom box unchecked
Layers – arrange – move down
Position on the bottom layer (Background)
Plugin - Alien Skin Xenofex 2 – Flag - Classic Mosaic
Apply the same effect as before except choose the AVP color:
Effects – reflection effects – rotating mirror - idem previous step (Always in memory)

Adjust – scharpness – scharpen
Edit copy - paste as new image we will need it later
10.
On our work,we are here :
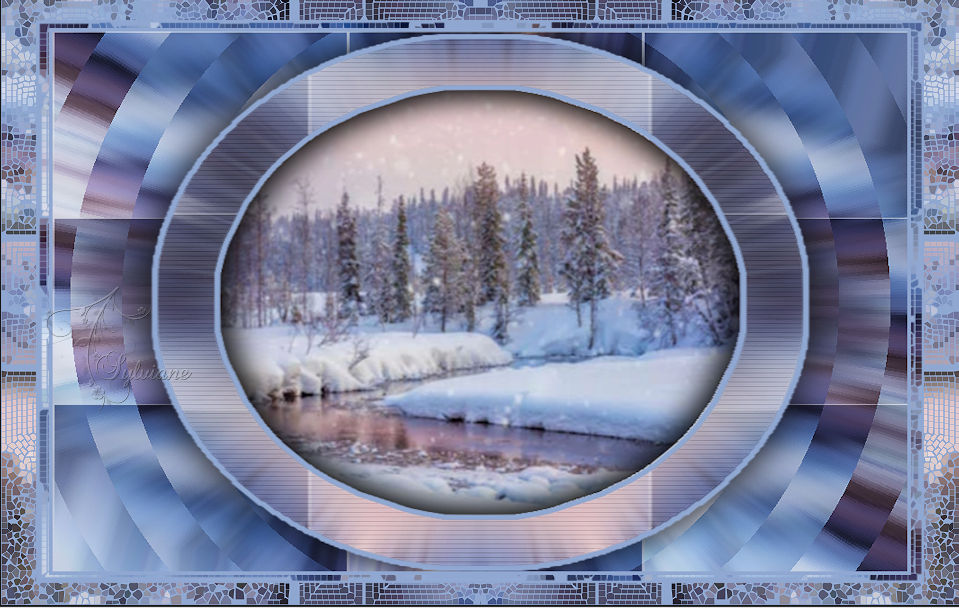
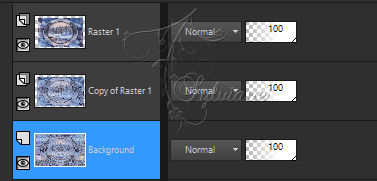
For my 1st version I put my middle layer (Copy of Raster 1) on * Screen *
Go to the layer at the very top of the stack (Raster 1)
Resize to 95% bottom box unchecked
Open DECO OMBRE PORTEE 189 OCTOBRE 2022 SWEETY.png
Edit – Copy
Edit - Paste as new layer
Do not move it, it is in its place
Edit - Copy special - Copy merged
Edit - Paste as new layer
Plug-in - MuRa's Filter Meister - Perspective tiling

Selections - Load / Save - Load selection from disk - SELECTION 4 189 .PspSelection
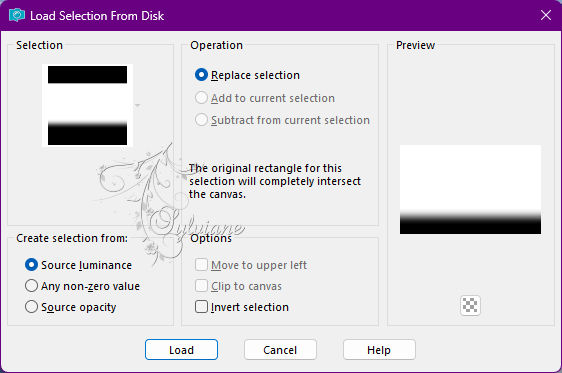
Edit==> delete or delete on keyboard +/- ten times
Selection - Select None
11.
Selections - Load / Save - Load selection from disk - SELECTION 5 189 .PspSelection
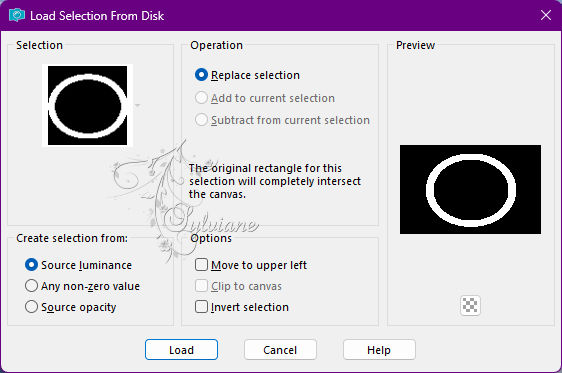
Layers - New Raster Layer
Open Paysage Hiver du soir 64c42b03 jpg.jpg
Edit – Copy
Edit - Paste into selection
Lower the opacity of this layer to +/-50%.
Selection - Select None
Layers – arrange – move down (2x)
Effects – reflection effects – rotating mirror - idem previous step (Always in memory)

Selections - Load / Save - Load selection from disk - SELECTION 6 189 .PspSelection
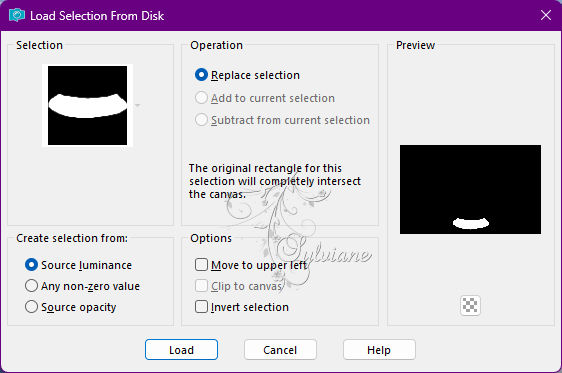
Erase or delete on keyboard
Selection - Select None
Move to the layer just below (Raster 1)
Selections - Load / Save - Load selection from disk - SELECTION 7 189 .PspSelection
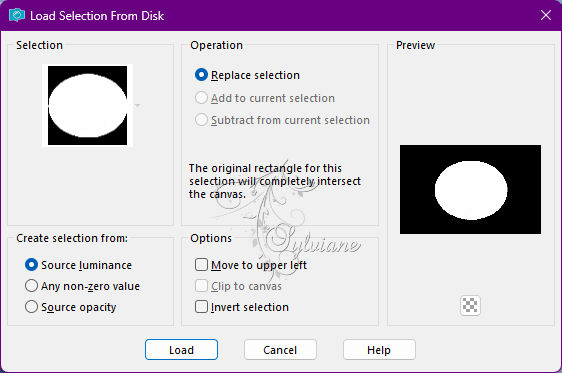
Selections – Promote selections to layer
Selection - Select None
Pluging - Flaming Pear - Flood
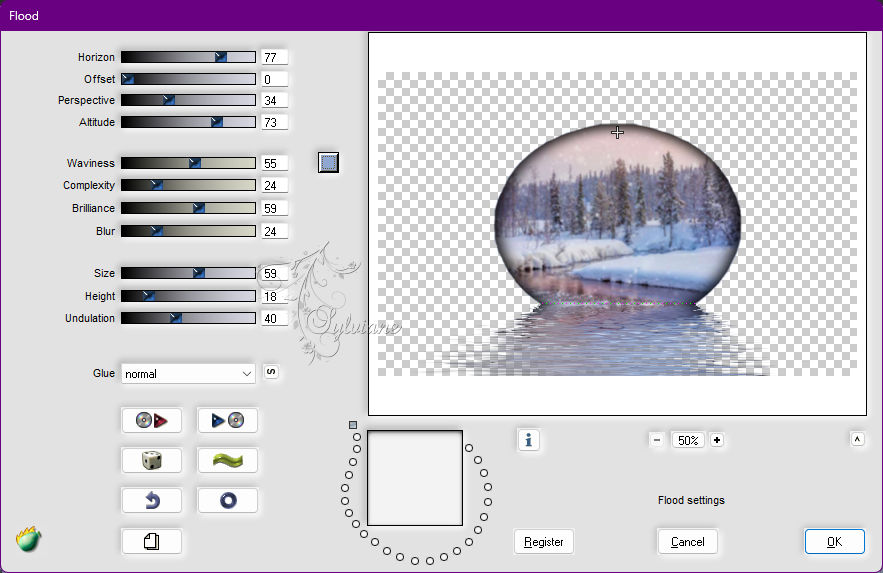
12.
Open DECO PERSO 1 189 OCTOBRE 2022 SWEETY.png
Edit – Copy
Edit - Paste as new layer
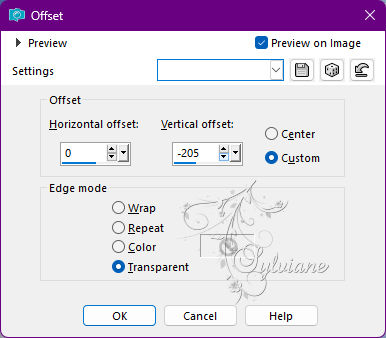
Effects - Image Effects - Offset
Horiz offset: 0 / Green offset: -205
Effects - 3 D effects - Drop shadow
0 / 0 / 100 / 25 / Black
Layers – arrange – bring to top
Open DECO PERSO 2 189 OCTOBRE 2022 SWEETY.png
Edit – Copy
Edit - Paste as new layer
Layers – arrange – move down (3x)
Load from disc selection 5,189.

Erase or delete on keyboard-
Selection - Select None
13.
Open your main tube
Edit – Copy
Edit - Paste as new layer
Image - Mirror – mirror Horizontal
Resize to 48%
place it as in example
Open SEPTEMBRE 2022 REVERBERE 08 08 10 22 SWEETY.png
Edit – Copy
Edit - Paste as new layer
Resized to 75%
place it as in example
14.
Image – Add Borders –symmetric – 2px - (For me the 2nd color)
Affix my watermark if you wish and then sign your work
Layer – merge – merge all (flatten)
Resize to 950 pixels
Save your work
Save as JPEG
Back
Copyright Translation 2023 by SvC-Design